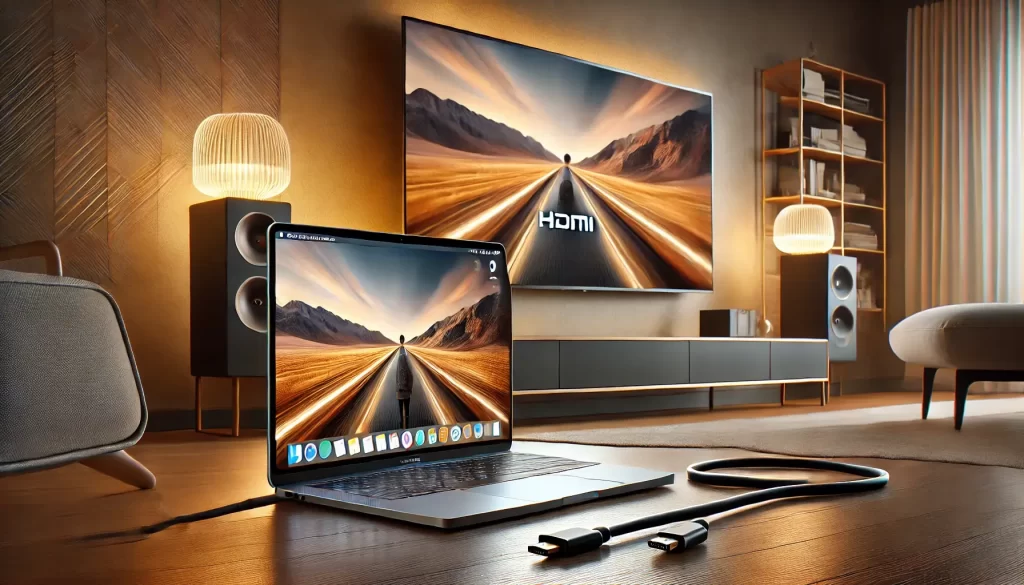
Connecting your MacBook to a TV using HDMI can transform your viewing experience. Whether you want a bigger screen for watching movies, giving presentations, or even gaming, an HDMI connection provides reliable video and audio transmission. This guide will walk you through each step, detailing everything you need to know about connecting a MacBook to a TV with HDMI.
Why Connect a MacBook to a TV?
Using an HDMI cable to connect your MacBook to a TV offers a range of benefits:
- Larger Screen for Entertainment: Watching movies or playing games is often more immersive on a large screen.
- Enhanced Work and Presentation Experience: Displaying presentations or working on a big screen can make tasks easier to manage.
- Better Audio Quality: HDMI connections can transmit high-quality audio from your MacBook to your TV, providing a richer sound experience.
Things You Need
What Is Native Drop Box Agent – Explained In Easy Steps 2024
To connect your MacBook to a TV, you will require a few essential items:
- HDMI Cable: A high-quality HDMI cable, ideally HDMI 2.0 or 2.1, depending on the MacBook’s specifications and your TV’s capabilities.
- HDMI Adapter: Since most modern MacBooks don’t have a built-in HDMI port, an adapter compatible with your MacBook model is necessary.
Determine the MacBook Model and HDMI Compatibility
1. Identify Your MacBook Model
Different MacBook models support different kinds of ports. Identifying your model and year will help you choose the correct adapter.
- Older MacBook Models: Models with HDMI ports (e.g., MacBook Pro 2012-2015) do not require adapters.
- Newer MacBook Models: USB-C or Thunderbolt 3/4 ports require adapters.
2. Check the Available Ports
Most MacBooks from 2016 onwards feature USB-C or Thunderbolt 3 ports, requiring a USB-C-to-HDMI or Thunderbolt-to-HDMI adapter.
Choosing the Right HDMI Adapter
The type of adapter you need depends on your MacBook’s port type. Here are some common options:
- USB-C to HDMI Adapter: Compatible with newer MacBooks featuring USB-C ports.
- Thunderbolt to HDMI Adapter: For MacBooks with Thunderbolt 3 or 4 ports.
Popular brands like Apple, Anker, and Belkin offer high-quality HDMI adapters that ensure seamless video and audio transmission.
Step-by-Step Guide: How to Connect MacBook to TV with HDMI
1. Connect the HDMI Cable to the TV
- Plug one end of the HDMI cable into an HDMI port on your TV. Remember the port number (e.g., HDMI 1, HDMI 2) for easy access.
2. Attach HDMI Adapter to MacBook
- Insert the adapter into the MacBook’s USB-C or Thunderbolt port.
- Connect the other end of the HDMI cable to the adapter.
3. Switch TV Input to HDMI
- Use your TV remote to navigate to the input/source menu and select the HDMI port you used for connection.
4. Configure MacBook Display Settings
- Go to System Preferences > Displays on your MacBook.
- Select Arrangement to choose Mirror Display (same display on TV and MacBook) or Extended Display (additional screen space).
Adjusting Audio Settings for HDMI Connection
- Select HDMI as Audio Output: Go to System Preferences > Sound, select Output, and choose your TV from the list.
- Fine-Tune Audio Settings: Adjust volume on both the MacBook and TV for balanced audio quality.
Troubleshooting Common Connection Issues
- No Signal on TV: Ensure the TV is on the correct HDMI input, and check cable connections.
- Resolution Problems: Adjust the resolution in System Preferences > Displays. Selecting “Scaled” can allow custom resolutions suited to your TV’s capabilities.
Tips for the Best Viewing Experience
- Optimize Resolution: Higher resolutions often provide a better viewing experience but can affect performance. Choose a resolution that suits both your MacBook and TV.
- Reduce Screen Glare: Adjust the brightness on your TV to match your room’s lighting for a comfortable view.
Alternative Methods to Connect MacBook to TV
1. AirPlay (Wireless Connection)
If your TV supports AirPlay (or you have an Apple TV), you can mirror your MacBook’s display wirelessly. To use AirPlay, click on the AirPlay icon on your Mac’s menu bar and select your TV from the list.
2. USB-C to HDMI Alternatives
If you encounter issues with a direct HDMI connection, consider using a USB-C to HDMI hub or a dock that provides additional USB and HDMI ports.
Apps for Enhanced Connectivity
Several apps can improve the MacBook-to-TV connection experience:
- JustStream: Enables streaming and mirroring to various smart TVs.
- AirBeamTV: Useful for wireless streaming to non-AirPlay TVs.
Pros and Cons of HDMI Connection
Pros
- High-definition video and audio quality.
- Low latency for gaming or live presentations.
Cons
- Limited mobility due to cable constraints.
- Requires an adapter for MacBooks without HDMI ports.
Frequently Asked Questions (FAQs)
1. Can I connect my MacBook to a TV without an adapter?
- Only if your MacBook has an HDMI port. Most recent models require an adapter.
2. Why is there no sound on my TV?
- Go to System Preferences > Sound, and select HDMI as the output device.
3. Why is my MacBook display not fitting the TV screen?
- Adjust the display settings under System Preferences > Displays.
4. Can I use an HDMI splitter for dual displays?
- HDMI splitters duplicate displays rather than create separate displays. Use a docking station for multiple screens.
5. Is HDMI connection better than AirPlay?
- HDMI offers superior video quality and reduced lag compared to wireless AirPlay connections.
6. What HDMI cable should I use?
- An HDMI 2.0 or HDMI 2.1 cable is recommended for the best quality, especially for 4K TVs.
Conclusion
Connecting your MacBook to a TV via HDMI enhances both work and entertainment experiences. With the right cable, adapter, and settings, you can enjoy high-quality video and audio on a larger screen. If you encounter any issues, try adjusting the display and audio settings, or consider alternative connection methods like AirPlay.


